Single Leg Squats
A very simple leg exercise you can do anywhere to equalize leg strength and improve back and hip pain as well
Do you want a very simple leg exercise that you can do anywhere to increase quad size, improve knee health and boost athletic performance?
I’m going to assume your answer is “hell yeah!” because I’ve been looking for a leg exercise that would do that for me all my life. Interestingly enough it took a knee injury for me to finally find the exercise that not only helped me rehab my knee and get back to playing sports and living life, but also helped me grow my stubborn leg muscles.
That magical exercise is the single leg squat!
What makes the single leg squat so great? It’s easy to perform, requires very little equipment and has a very low entry level in terms of skill!
The single leg squat has changed my philosophy of leg training! If you’re interested in the benefits of the single leg squat including how I found it, continue reading!
What is the Single Leg Squat
In November of 2023 I tore my LCL (lateral collateral ligament of the knee) along with my hamstring and popliteus which is the little muscle found right behind your knee. The tear did not require surgery but I was supposed to be on crutches for the first 4-6 weeks.
I lost a decent amount of muscle mass on my injured side from constantly trying to keep my weight off of my injured leg. There was a 2 inch difference between legs, and I was experiencing a lot of nerve pain in my knee and foot when lying down and sitting.
I used glucosamine, red light therapy, and compression to accelerate the healing process early on.
I started the rehab process by training my glutes. I used hip thrusts since they were the only exercise I could do without pain. Hip thrusts are like lying glute bridges with your back elevated on a bench or couch.
Where my rehab really took off was when I implemented the single leg squat into my training.
To be clear, I did not come up with this movement. I saw Dr. Aaron Horschig perform the single leg squat on his website, Squat University. It seemed like such a simple exercise, which is why I probably overlooked it for so many years.
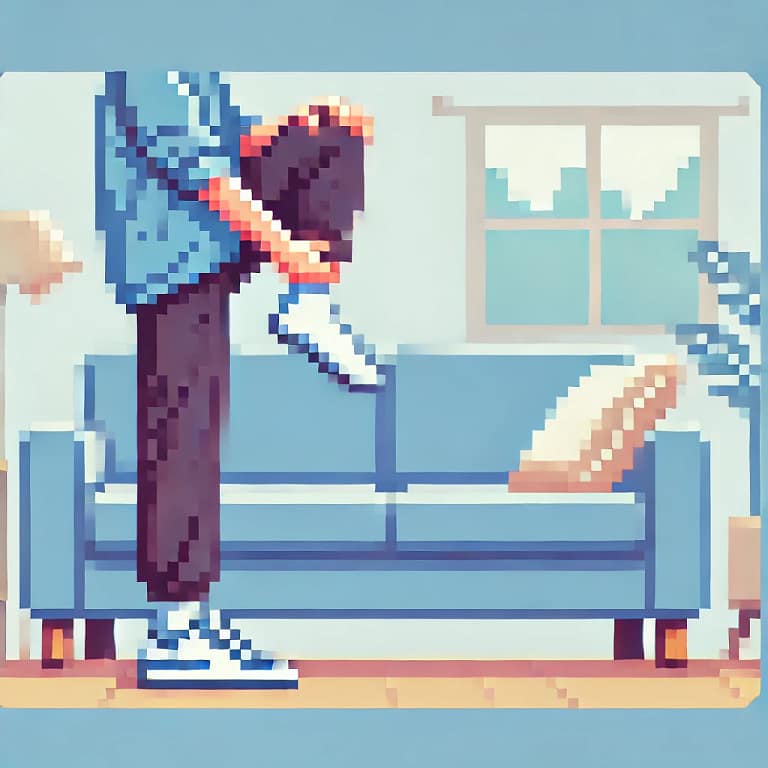
The single leg squat is pretty close to a step up style movement. You stand on the edge of a bench or step or platform with one foot and step down to the floor with the other foot before pushing back up to the start position with the foot that is on the platform.
I performed my single leg squats on bumper plates and diligently did sets of 10 whenever I could on both legs. Within no time at all I went from a 10 inch platform to an 18 inch platform.
I quickly noticed that my injured leg was catching up to the other in terms of strength and size. It helped my injured leg catch up to my uninjured leg in terms of size and strength.
I was back to soccer 10 weeks after my injury, and thanks to the single leg squat have been able to run faster, jump higher and my legs are stronger than they were before my injury. I didn’t think that was a possibility.
How to Perform the Single Leg Squat
Here are the principles for performing the single leg squat.
Perform single leg squats with top foot flat and bottom heel must touch floor. Keep a SLOW descent. If you need something to hold onto, a pvc pipe works well.
You can use a pvc pipe or something to hold onto for balance when starting out
Start with a small elevation and work your way up. When you can do 3 sets of 10 perfect repetitions on each leg, add an inch to an inch and a half of elevation.
Measure your platform. When you are able to squat on a 18 inch platform, start to implement the heels elevated version of the single leg squat. Remember that you can let your top heel come up off the platform and when descending you can touch your toes to the floor first then the heel. This will allow you to put more stress on your quads and help you improve your elevation.
Keep perfect form and volume high. Make sure the range of motion is gradual and progressed slowly. Once you have built up to a decent range of motion you can increase the resistance by either holding dumbbells or utilizing bands.
The advantage to using bumper weight plates is that you can slowly progress to a higher height. The goal is not to squat from as high as you can, but to return to what used to be difficult and find that it is now automatic for you.
There are two variations to the single leg squat. The traditional single leg squat is the one I learned from Squat University. The heel elevated variation is one I have tweaked.
Single Leg Squat
There is a traditional single leg squat that I learned from Squat University and there is my variation that I put on it.
Squat University Style:
You will try to keep your top foot flat on the plate or bench, while touching your heel down to the floor on the bottom leg. This style allows you to use your glutes more which is great!
MPFitness Style:
You can let your heel rise up off of the plate or bench and you can let your toes touch first (eventually dropping to the heel) of the bottom foot. This style allows you to progress even if tight ankles are an issue for you. This style also allows your quads to do more of the work.
I urge you to utilize both variations. I do this so that I can vary my leg training in order to continue to make consistent progress.
Set up a bench or stack of weight plates (something sturdy) and stand with one leg hanging off the side. Squat down until the heel of your bottom foot touches the floor and push your top foot into the bench to return to the start position.
Single Leg Squat with Heel Elevation
With this style of single leg squat you can keep your torso more upright and ask more of your quad muscles.
This style had a lot more carryover to athletic performance for me, as well as increased quad size.
Perform 5 sets of 5-10 reps on each leg. If you are experiencing pain, lower the height of the box or bench or plates and try again. Start low and slowly work yourself up.
Because this movement is very easy to recover from, you can perform this movement 5x per week. Some sets should be to practice and some should be to improve on the height.
Bumper plates are the best because you can elevate the difficulty in slow increments. But you can also use a bench or a box or a pad or even perform single leg squats off of your steps.
Pistol Squat on Bench
When you are ready to progress the single leg squat further, move on to the pistol squat. This movement will really let you see just how strong you can get.
The pistol squat can be performed on the flat ground but elevating yourself on a bench allows you to keep your front leg lower which should let you sink deeper into the squat.
The goal is to squat down far enough to touch your hamstring to your calf before squatting back to the start position.
The Benefits of the Single Leg Squat
The single leg squat is easy to perform, is easy to recover from, and is progressable in many ways.
The one crazy side effect was that it grew my quads! My legs developed to be 2 inches bigger than they have ever been prior to injury!
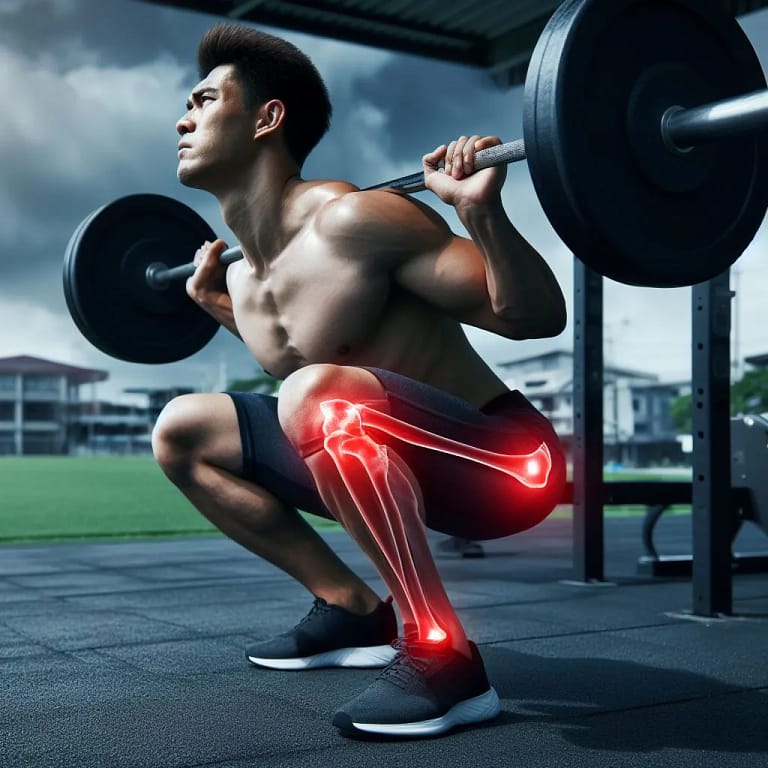
I’ve spent a lot of time trying to grow my quads and I’ve never had much luck. I’ve tried back squats, front squats, goblet squats, bulgarian split squats, leg extensions, you name it and I’ve probably tried it. I’ve only succeeded in attaining very nominal leg gains and accruing massive knee discomfort.
Back squats grew my legs to a small degree but mostly grew my glutes and back muscles and over time were too hard on my hips and knees
I’ve tried so many different exercises to increase the size of my legs and while it isn’t all about the quads, I have never really been happy with the size of my quads, until I started single leg squatting.
I even bought a leg extension machine so that I could perform leg extensions more often and grow the size of my quads. However, one week after purchasing the leg extensions machine, I found the single leg squat. Since I started single leg squatting I haven’t used that damn leg extension machine. Because my results have been too good! I won’t complain, I guess.
The reason the single leg squat lends itself to growing the legs is because it is easy to recover from and thus allows you to train more often. Along with this, there are multiple ways to make progress. You can progress with extra resistance, (dumbbells, bands, etc.) but you can also progress by increasing the range of motion.
The single leg squat can also help balance any strength discrepancies. Limb alignment during loaded exercise has been linked to chronic knee injury. There was a 1.5 inch difference in size between my legs when I started single leg squatting. In a short period of time the lagging leg caught up to its previous size while both legs have grown. I’ve added about around a half inch to each of my legs which I don’t take for granted.
On top of this, since adding these to my training, my hips and knees feel so much better and I definitely have experienced an athletic boost in terms of speed and jumping ability.
Conclusion
I’ve trained a few of the Knees Over Toes exercises, and while some of them were helpful (namely ATG split squat more for hip health) I’ve found the single leg squat to have more overall carryover to overall athletic performance and knee health.
The single leg squat is easy to perform, easy to progress and is easy to recover from, allowing you to get a lot of practice. You can expect to see major improvements within 3 training sessions of 5 sets each leg!
Training
| Training Protocol (3-5x per week) | ||||
| Focus | Exercise | Sets | Reps | |
| Improving Leg Strength/Mobility (3-5x) | Single Leg Squat | 5 | 10 | |
| OR | ||||
| (Advanced) (1-2x) | Pistol Squat | 3 | 5 | |
Key Takeaways
References:
- Dawson SJ, Herrington L. Improving Single-Legged-Squat Performance: Comparing 2 Training Methods With Potential Implications for Injury Prevention. J Athl Train. 2015 Sep;50(9):921-9.
- Richards J, Thewlis D, Selfe J, Cunningham A, Hayes C. A biomechanical investigation of a single-limb squat: implications for lower extremity rehabilitation exercise. J Athl Train. 2008 Sep-Oct;43(5):477-82.


