How to Avoid Chronic Pain

*I’m not a medical doctor/nutritionist. Consult your doctor before making any life changing decisions on diet and exercise.
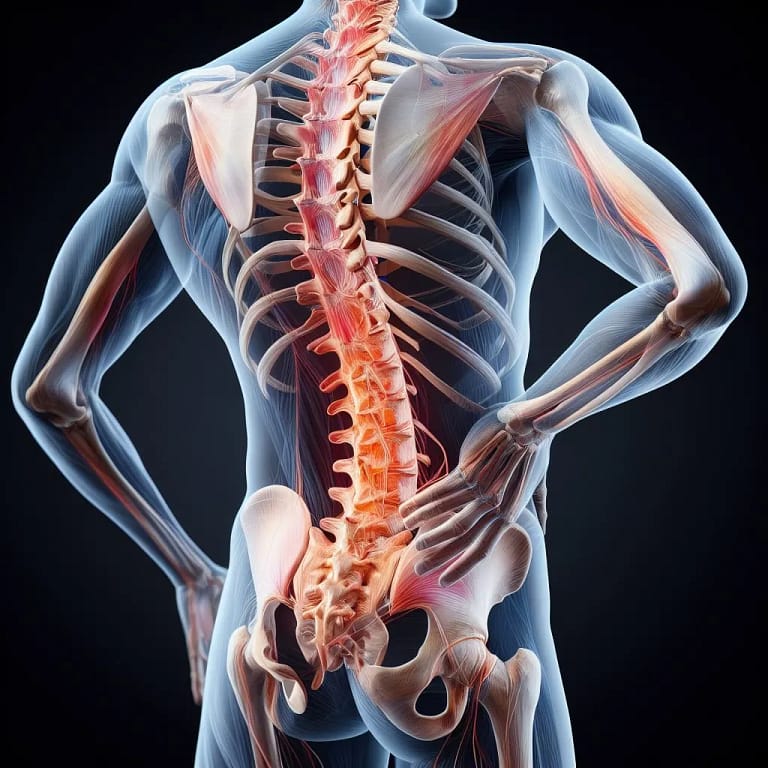
Shoulder pain, neck pain, back pain, knee pain, hip pain! Are you tired of dealing with chronic pain? The culprit may not be your training. It might be your daily activity. Desk jobs, constant sitting, working on a computer, wearing high heeled shoes, and staring at your phone are just a few of the things that can cause or contribute to chronic pain. Don’t let chronic pain get in the way of your ability to move and to be happy. Through the use of myofascial release technique we can decrease soreness from intense resistance exercise (delayed onset muscle soreness also known as DOMS), find and release pesky trigger points that may be causing referred pain elsewhere in the body, avoid overuse injury and mitigate chronic pain.
Myofascial Release Technique
Soft tissue, including muscle tissue and fascia, can become hardened due to overuse, constant trauma and lack of hydration. Myofascial release technique aims to heal tight and painful joints and muscles by applying pressure in order to improve blood flow to a given area with the goal of relaxing tonic contracted muscles. It’s not as complex as it sounds. The only tool you will need is a foam roller. This is a very inexpensive piece of equipment that I highly suggest you invest in if you haven’t already. My favorite foam roller is the TriggerPoint GRID, but any basic foam roller will suffice.

Mitigate DOMS (Delayed Onset Muscle Soreness)
DOMS is the muscle pain and soreness felt 1 to 2 days following an intense bout of resistance exercise. It occurs from small micro tears in the muscle from the eccentric portion of resistance exercise. Even if you aren’t experiencing chronic pain, you may be interested to know that self myofascial release can reduce DOMS, speed recovery and improve athletic performance in the muscles. By increasing blood flow to areas with poor circulation, self myofascial release can help you recover from an injury or even an intense workout (1).
Trigger Points
Trigger points are areas of muscle or fascia that are tight, overused, and/or dehydrated to the point that they are causing something called referred pain to other areas of the body. Using four foam rolling self myofascial movements, we will address trigger points in the upper back, lats, IT bands, and calves. By finding and releasing these trigger points, you will see dramatic improvements to pain in other areas of the body. In my personal experience, these are the four most effective and easy to perform self-myofascial release movements. Make sure to incorporate these into your weekly program and you will rapidly see improvements in your joint pain, posture and energy level!
Just remember that we are trying to relax tight muscles so make sure to breathe deeply while doing the movements below. And when you inevitably find a painfully tight adhesion or trigger point, do your best to relax and not tense up, otherwise you are defeating the point of the movement.
Upper Back (Thoracic spine) and Lat Muscles
These days, there are many things that are contributing to our “forward head posture.” Working a desk job, looking at a computer or smartphone for long periods of time, long term sitting, repetitive manual labor and incorrectly performed resistance exercise are just some of the things that can contribute to a kyphotic spinal position, which causes the head to move further and further forward. The further forward your head position gets, the more pressure is put on your cervical spine. For every inch forward, the weight on the cervical spine is increased by 10 lbs. Yikes! Time to do something about this now!

In order to get the natural lordosis of the spine back, we are going to use the foam roller to “iron” out the muscles in between the shoulder blades and improve thoracic spine mobility. Since I began rolling out my upper back to improve thoracic mobility 5 years ago, I have noticed a significant improvement in my posture and neck and shoulder range of motion as well as a reduction in back pain. If you are experiencing back, shoulder or neck pain, pay close attention!


Thoracic Spine Smash
Sitting down with your knees bent and the foam roller behind you, lean back on the roller at shoulder blade height and bridge your hips up so you are balancing on the foam roller and your feet. Give yourself a big hug which will spread your shoulder blades apart so that you can iron out the muscles in between them. Roll down until you reach your mid back then roll back up to the start position. Don’t worry, it is natural to hear a few clicks in your T-spine when you do this movement. You only need to spend 30 to 60 seconds rolling back and forth over the muscles in your mid to upper back. I will sometimes raise my arms overhead while rolling to work on recapturing the natural lordosis of the spine. DO NOT attempt to roll out your lower back muscles. Keep to the middle and upper back.

Thoracic Extension
Tight lat muscles can also contribute to shoulder and neck pain and over time can cause decreased range of motion in your shoulders which can eventually lead to neck overuse.

To hit the lats, lay on your side and place the foam roller under your armpit. Reaching your arm overhead and relaxing your forearm on the ground, use your legs to roll the muscles under your armpit. If you look at the picture of the lats, you will see that they attach low on the back. Make sure to roll from your ribcage to just below your upper arm. Trust me, you won’t have a hard time finding trigger points in this muscle. If you find a spot that feels really tight or painful, try to keep some light pressure on it until the pain begins to subside. That is a trigger point being released! Remember to relax and breathe. Try to work on your lats on both sides for 2 minutes, which is the amount of time it usually takes to make a change in the tissue quality. And just a side note; painful tissue is unhealthy tissue. Iron away!

Latissimus Dorsi Smash
IT band

No idea what the IT band is or where it is located? I promise you will never forget after this next movement. If you thought the lats were tight, the Iliotibial band is another story. If you’ve logged mileage as a runner or spent time in a sport, chances are you have experienced iliotibial band tightness. The IT band is a strong, thick sheet of connective tissue that attaches at the hip and runs all the way down to below the side of the knee. “Strong” may be an understatement. It looks like a thick sheet of metal! You can bet it can get very tight. Thankfully, myofascial release works effectively on the IT bands… perhaps a little too effectively. You know what I mean if you have ever foam rolled your IT bands.
Lying on your side with your forearm on the ground, slide the foam roller underneath the side of your bottom leg. Put the foot of your other leg on the floor in front of you. With the side of your bottom leg squeezing the foam roller to the floor, roll up and down from your hip to just above your knee. Most likely you will feel a painful spot in the middle. Stay on it for a couple of seconds and breathe deeply. Your feet should remain in contact with the floor. Take breaks from this movement if needed, as it can be intense. I bet you won’t forget where your IT bands are now! Work on your left and right IT band for 2 minutes. Have fun!


Iliotibial Band Smash
Calves and soleus

Running, playing sports, and standing on our feet all day at work are just some of the reasons our calves and soleus muscles get chronically tight. Over time this stiffness can contribute to the shortening of the heel cord or achilles tendon. Why does this matter? You will end up compensating by turning your feet out when walking, running, or squatting which will cause a pronounced valgus knee collapse (picture the knees collapsing in towards each other), leading to hip and knee pain over time. Pay attention to your gait when you walk. Do your feet turn out? You may be lacking in ankle range of motion. Don’t feel bad. Most people lack ankle mobility, myself included thanks to numerous ankle sprains during sports. Let’s recapture some of that mobility and improve blood flow to our lower leg and feet. You will feel amazing afterward! Work on the calves and soleus of both legs for… you guessed it… 2 minutes!

Gastrocnemius/Soleus Smash
Try to roll out your calf muscles like you are using a rolling pin to roll out dough. Roll forward and backward while keeping your butt and hands on the floor. You can also turn from side to side. When you find a spot that feels very tight, try to stay on it and relax and breathe. You may feel it start to pulsate. This is a trigger point and may be causing referred pain elsewhere or may be contributing to bad posture.
.

Soleus Smash w/Kettlebell
For a more effective and painful experience, you may use a kettlebell if you have one at your disposal! The kettlebell handle can target a more specific area than the foam roller can. When working on my soleus, I really like to use a kettlebell so that I can target the exact spot that I need to work on. If you are worried that you won’t be able to find “the spot” that you need to work on, don’t. You will find it. Trust me. Even though the pain can be somewhat intense, when you stop, you will feel increased blood flow to your feet and ankles and most likely increased range of motion in the ankle if you’ve performed the movement correctly.
It is important to be able to perform basic maintenance on your body. If done correctly, these movements can greatly reduce chronic pain, calm sore muscles, improve circulation and energy level, and keep you safe from overuse injury.
EVEN if you are not currently experiencing pain… do these movements. The body is excellent at compensating for poor movement or posture. However, eventually it will reach a point where it can no longer compensate and you will experience injury. By adding these movements to your toolbox, you can give yourself a “tune-up” and make sure that you are moving and performing optimally. Incorporate these self myofascial release techniques into your weekly regimen and watch your chronic pain diminish!
Avoiding Pain
If you are experiencing knee, hip or back pain, pay close attention. You may be lacking sufficient ankle range of motion. Try this test. Stand in front of a wall. Place both hands on the wall and one foot three inches away from the wall. Keeping your heel on the floor try to touch your knee to the wall (fig. 1).

Figure 1.
If you can’t touch your knee to the wall without your heel coming up off the floor, you are missing valuable range of motion that is likely contributing to poor movement mechanics. Make sure to test both ankles! You may have poor range of motion in just one ankle. These are important asymmetries to locate and correct as they cause the body to compensate until major injury occurs.
If you are lacking ankle range of motion don’t worry! It can be quickly reclaimed. All you need is a lacrosse ball, kettlebell and foam roller. These are inexpensive items that everyone should invest in to stay healthy. Using these items you can improve your ankle range of motion by rolling the muscles of your feet, calves and soleus. After that your focus should be on strengthening the anterior tibialis and taking care of your feet!
Smash the Muscles of the Foot, Soleus and Calf


The first step to reclaiming ankle range of motion is to loosen the muscles of the posterior leg. These muscles get chronically tight and will cause your feet to pronate inward causing a valgus collapse when you walk or run, ultimately leading to knee hip and back pain.
Using a lacrosse ball you can loosen the muscles on the bottom of the foot. Focus on the arch and the muscles just below the toes. Apply light pressure and if you find a spot that is somewhat painful, breathe deeply until the tightness subsides. Apply the same principles to the soleus using the kettlebell and the calf using the foam roller. Don’t forget to relax and breathe deep when dealing with tight uncomfortable spots.
If you need to brush up on trigger points check out the first part of this article. Once you have loosened up these muscles, test your ankle range of motion on each leg again. You may be surprised to find that your range of motion has improved!
Strengthen the Anterior Tibialis


A lot of people focus on strengthening their calves but don’t work on the antagonist. Once per week make sure to strengthen the anterior tibialis which is on the front of the shin. Attach a jump stretch band to something sturdy. Loop the band over your foot just under your toes. Slide back until there is some resistance in the stretched position. Without bending at the knee or hip, pull your toes towards your body and hold this position for 30 to 45 seconds. Do this three times on each leg. If you don’t have a jump stretch band you can have a partner provide light resistance with their hands.
Take Care of Your Feet
Your feet take a pounding. Take care of them! Once a week ice them and follow that up with a warm bath with 2 to 3 tablespoons of epsom salt to promote blood flow and healing. Before bed, apply coconut oil and massage your feet. The coconut oil will penetrate the skin and remove dead cells, keeping them hydrated and improving the elasticity of the tissues. When selecting shoes go for ones that have flexible soles with not too high of a heel. A high heel causes alignment issues and contributes to pain. Make sure they are wide allowing space for your toes. Our feet are actually meant to spread and grip the floor!
If you are experiencing chronic joint pain and are looking for a solution, check your feet first. Tight muscles and immobile ankles may be the source of your pain. The body is excellent at compensating for poor movement mechanics and even though you may not be experiencing pain in your feet, they may still be affecting you negatively. Use the techniques above to loosen the posterior muscles of the leg, strengthen the antagonist and take care of your feet allowing them to recover and regenerate.
References:
1.Pearcey GE, Bradbury-Squires DJ, Kawamoto JE, Drinkwater EJ, Behm DG, Button DC.
J Athl Train. 2015 Jan;50(1):5-13. doi: 10.4085/1062-6050-50.1.01. Epub 2014 Nov 21